


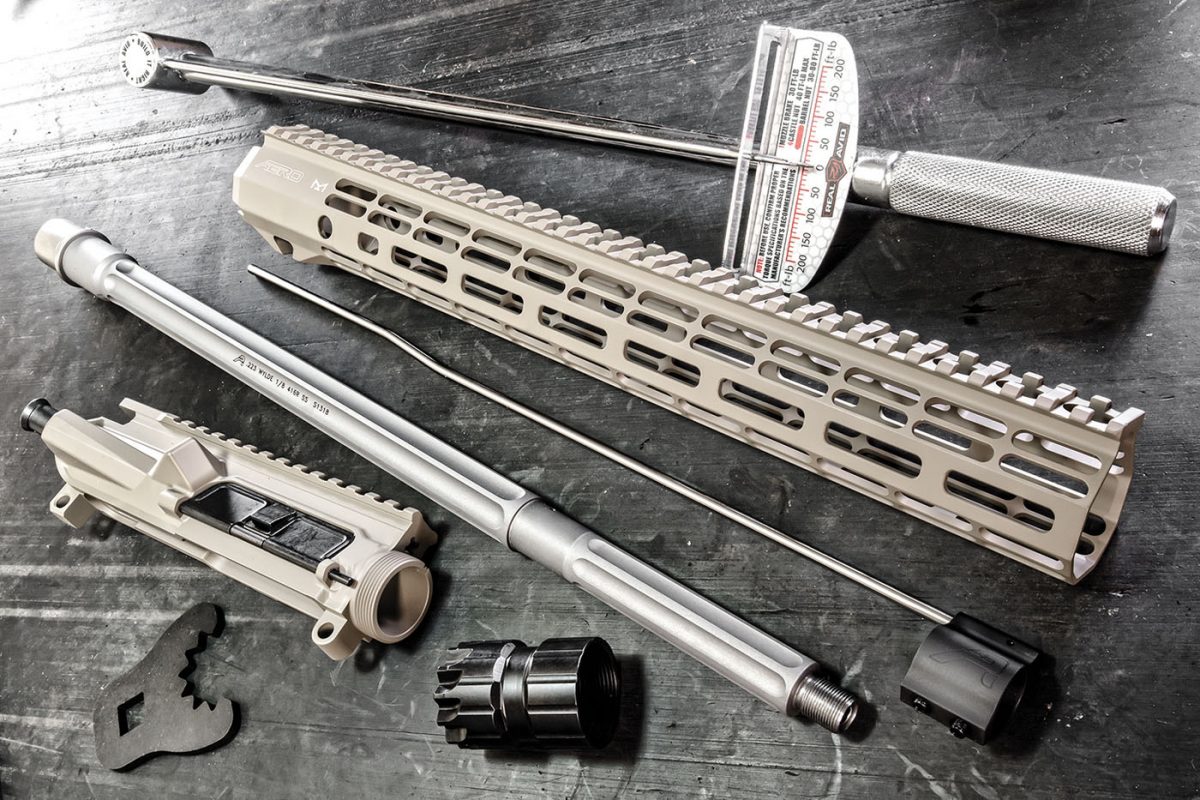
We build with a purpose using premium Aero Precision components
I like buffets, but not for the reason most people seem to like buffets. For me, it’s not about the volume of food I can physically fit on my plate and subsequently stuff in my mouth, it’s the fact that I can pick and choose the food I actually want, and precisely how much of it I want. It’s for this same reason that I enjoy building my own ARs.
Depending on the chosen components, from a financial standpoint, building your own AR-style rifle may or may not cost less than a comparable factory-built rifle. In the end, however, you have a rifle built to your spec, precisely how you want it. While outstanding, factory-built AR platforms of nearly every configuration imaginable can be found on dealer racks, even though we’re spoiled for choice these days, I have yet to see one configured to my exact vision.
If I only had one gun, it would probably look something like the one I’ve built here—my interpretation of an 18-inch-barreled USSOCOM MK12 SPR rifle. The MK12 SPR (Special Purpose Rifle) represents a hybrid-type rifle: a reasonably light, half defensive/half offensive weapon.
But in civilian hands, the “special purpose” moniker isn’t all that accurate. I like to think of this particular configuration as more like a “general utility” rifle that can fulfill multiple rolls, such as dispatching coyotes on the farm, medium- to long-range target shooting and—with the right optic—home defense. A jack of all trades if you will, and fully capable across the spectrum of most AR-15 needs.
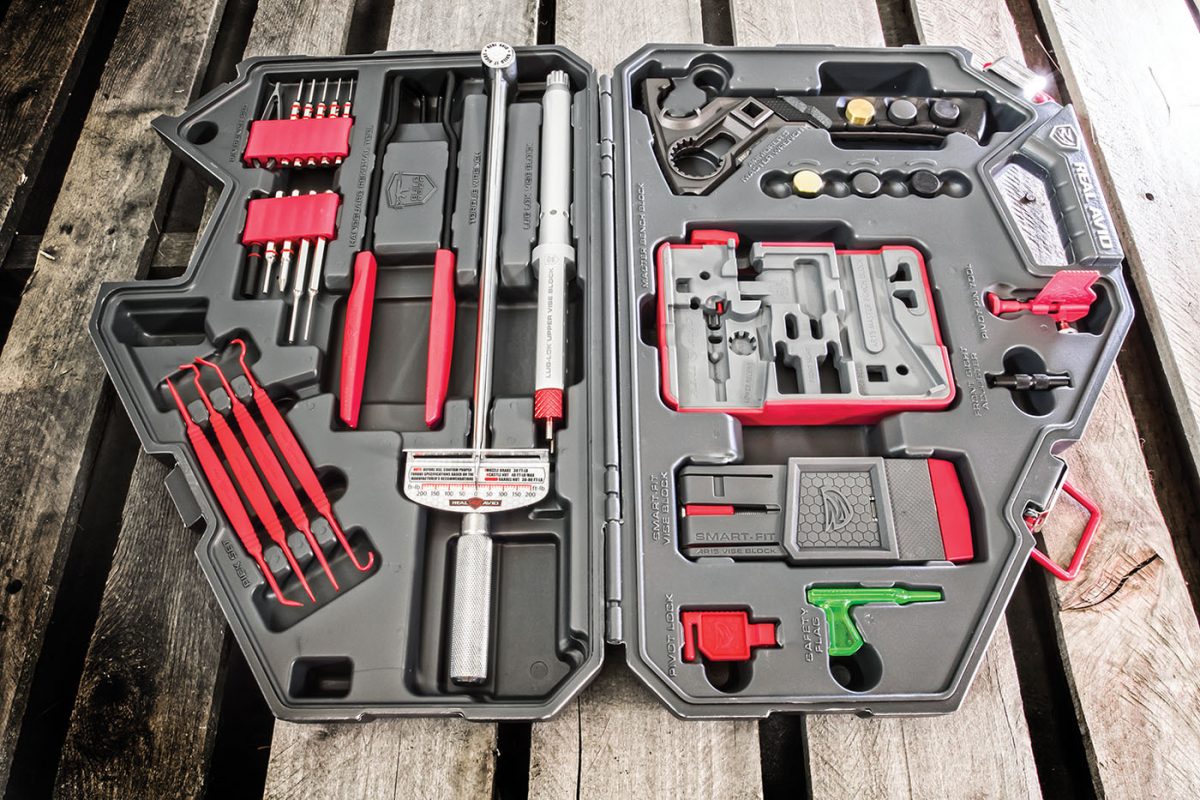
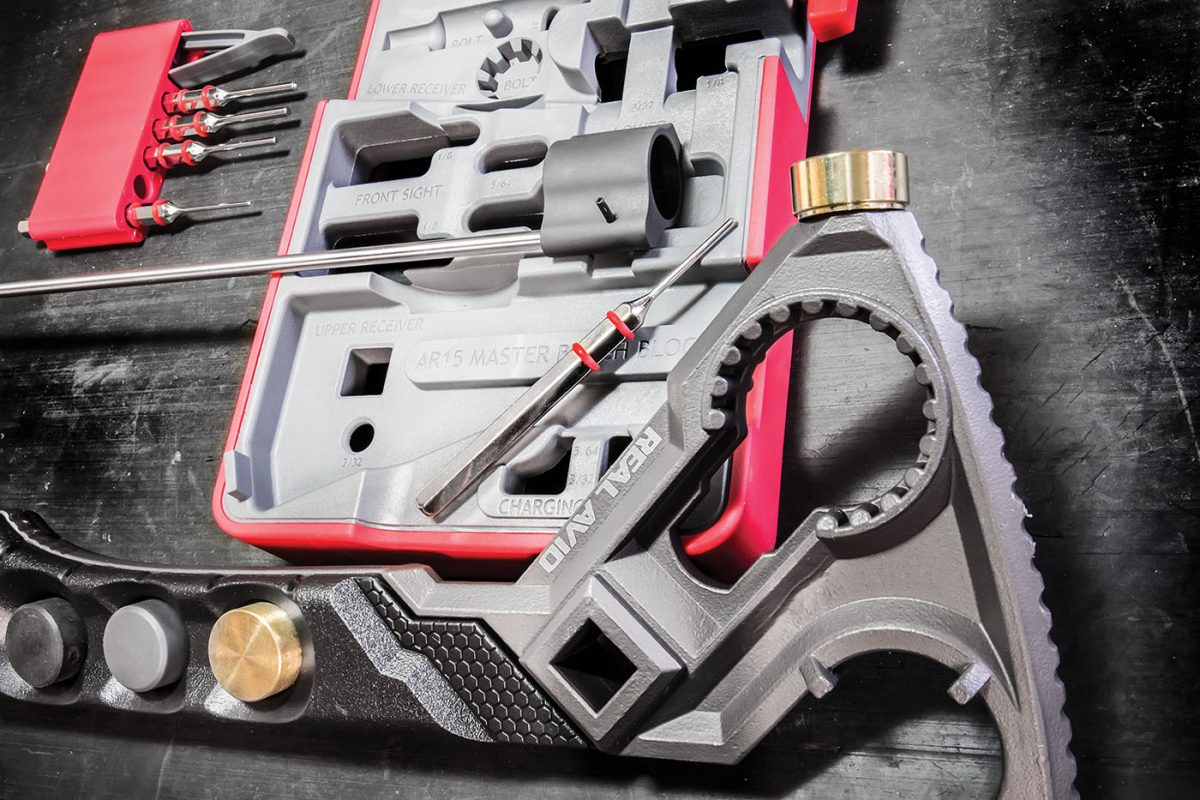
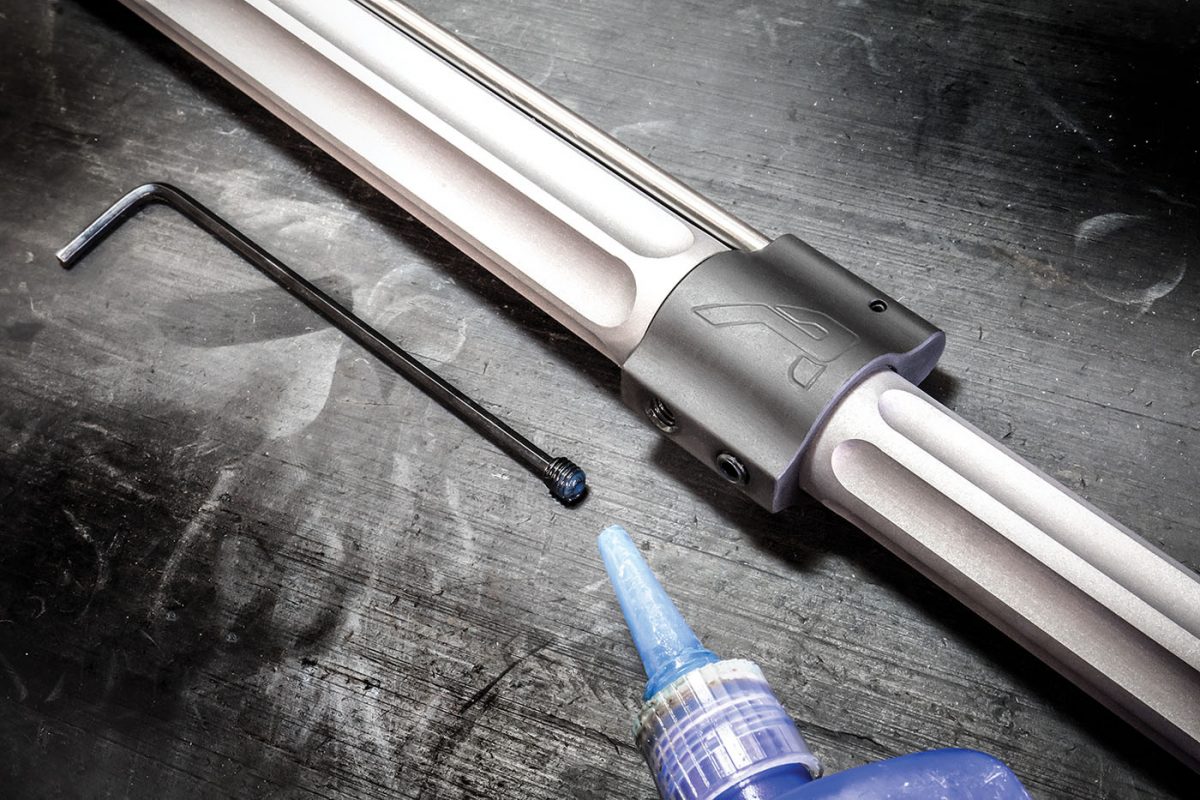
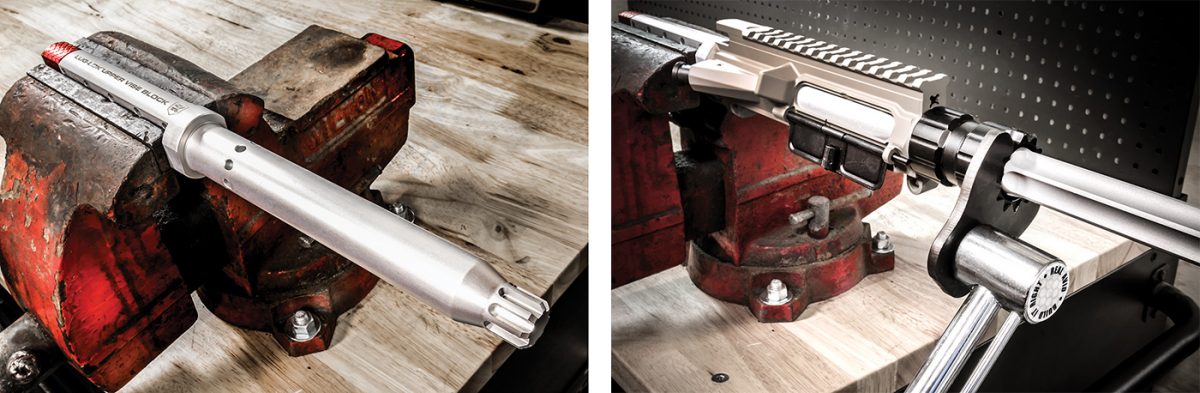
If you’ve never tackled an AR build before, let me assure you this isn’t rocket science. There are a few necessary tools and a few tools that are just nice to have, all of which can be found in the Real Avid AR-15 Armorer’s Master Kit we used to put this build together. Due to space constraints, however, we’ll be skipping some of the minutia of component assembly, but Real Avid does include literature with the Armorer’s Master Kit that touches on the finer, illustrated details. For greater detail on each AR component we used, the descriptions on Aero Precision’s website are absolutely first rate. Let’s get to building!


